Use Bash_Profile to Customize Terminal on Mac
Setting Up Aliases on a Mac

If you, like me, are a fan of shortcuts (called aliases here) and customization, this is the article for you. This will just be a quick tutorial on how to set them up in the terminal on a Mac. Okay, let’s go!
First, open your terminal.
Next, we’ll want to edit our .bash_profile file. Hidden files, like this one, are preceded by a period, and don’t show up when we run ls. Instead, you have to run ls -a to see a list of all files, including hidden ones. Don’t worry if this specific file isn’t there yet. If it is, we’ll edit it, and if not, we’ll create it. We can edit this file in our editor of choice (I use Atom), but for the purposes of this tutorial, we’ll use nano.
Run the command:
nano ~/.bash_profile
Note that if you’re already in the root directory, you can leave off the ~/, but if you’re anywhere else, you’ll have to include it.
This will open the existing file in the terminal or begin creating a blank new file. From here, it’s pretty straightforward to add aliases (shortcuts). They follow this format:
alias my_shortcut='longer command to run'
For example, here are a few useful aliases that I have set up for git:
alias gs='git status '
alias ga='git add '
alias gb='git branch '
alias gc='git commit'
alias gp='git push'
alias gd='git diff'
alias go='git checkout '

alias gac='git add . && git commit'

alias got='git '
alias get='git '

alias c='clear'
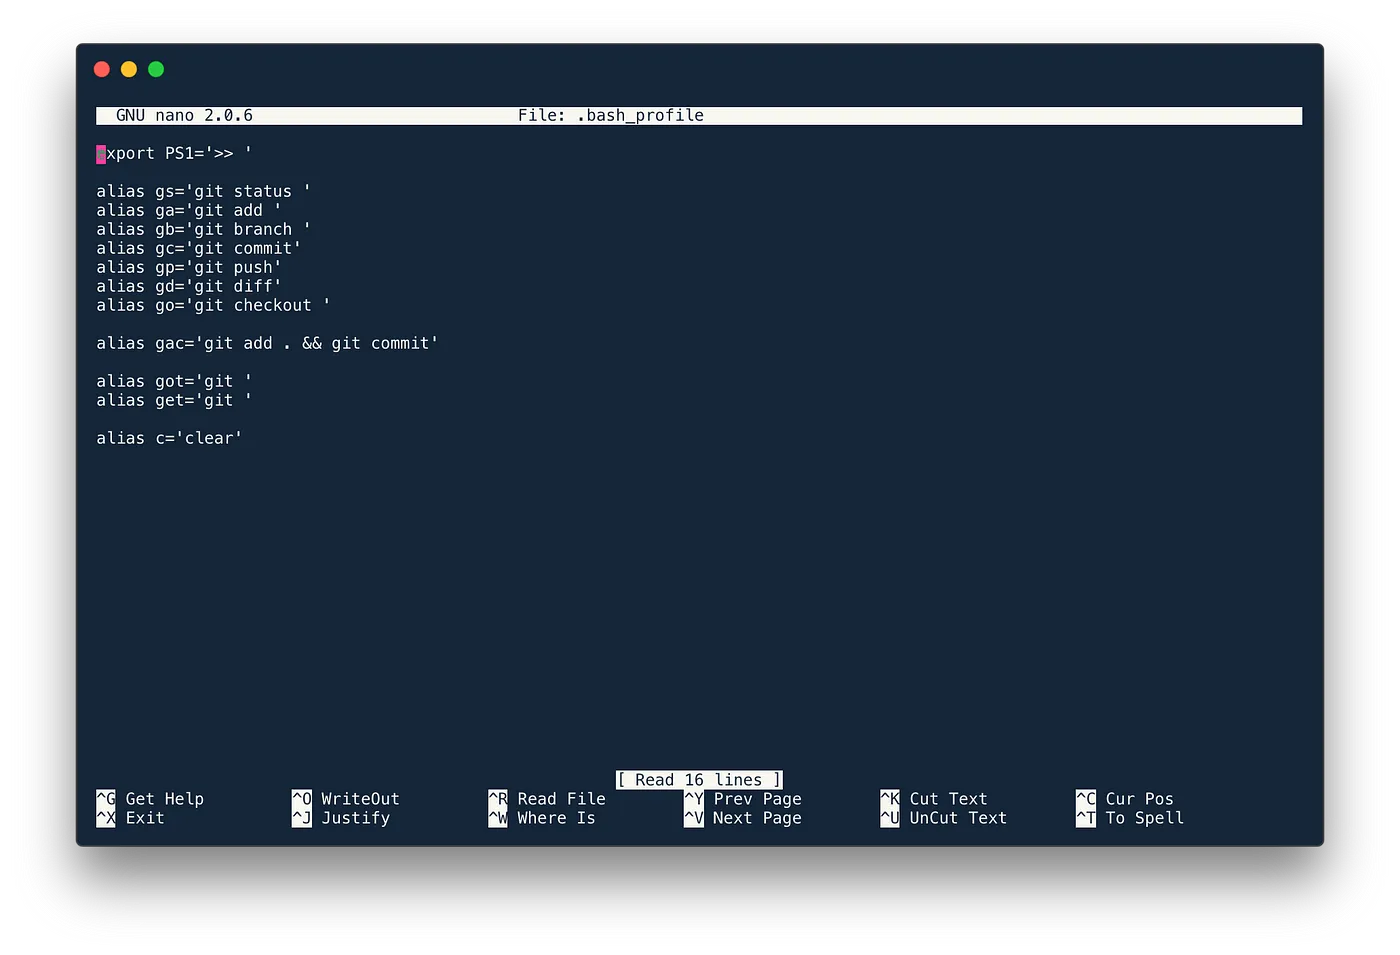
Notice a few things here. First, how you can run multiple commands with the same alias, such as git add . && git commit. Second, how I’ve set up both got and get to be replaced with git, just in case I mistype them.
If you’d like to change the command prompt—that long string that has your username and computer followed by a dollar sign ($)—you can customize it here as well. Just add the line:
export PS1='[my_custom_prompt]'
You can put any text, or even emojis, in between the quotes. For example, mine is:
export PS1='>>'
which shows a simple double greater-than symbol before my commands.
When you’re done making your customizations, we want to save them. If you’re using nano, there should be a guide at the bottom of the window. Run ^O / ctrl + O to “write out” (save) the file. It will ask you to approve the filename to write; as long as it is /Users/[your_username]/.bash_profile, you’re good to go. Just hit the enter key.
To exit nano, press ^X / ctrl + X.
Lastly, to get the aliases working, run:
source ~/.bash_profile
What my .bash_profile looks like opened in nano.
 This is just a quick intro to get you started, but I hope it helps!